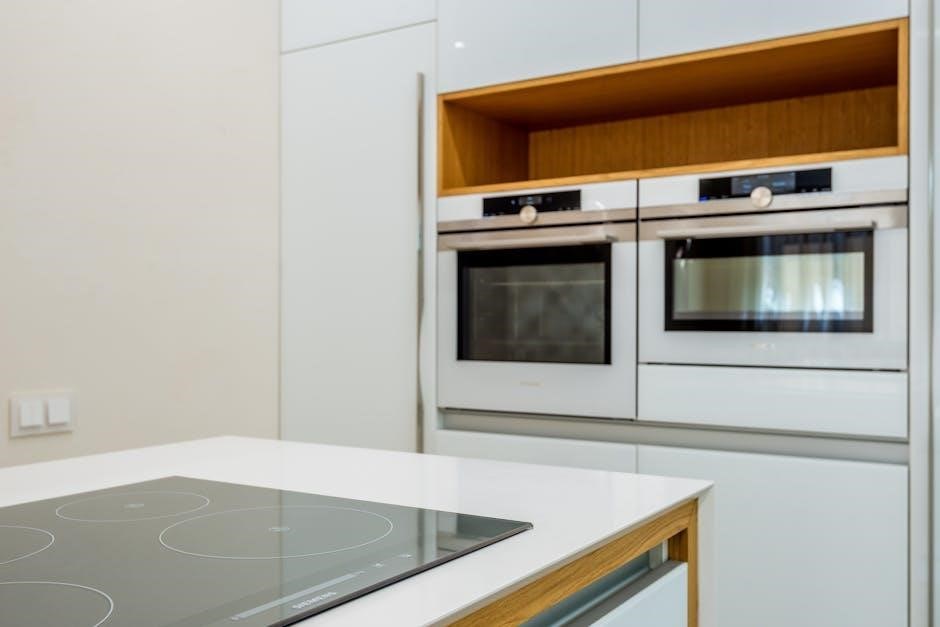
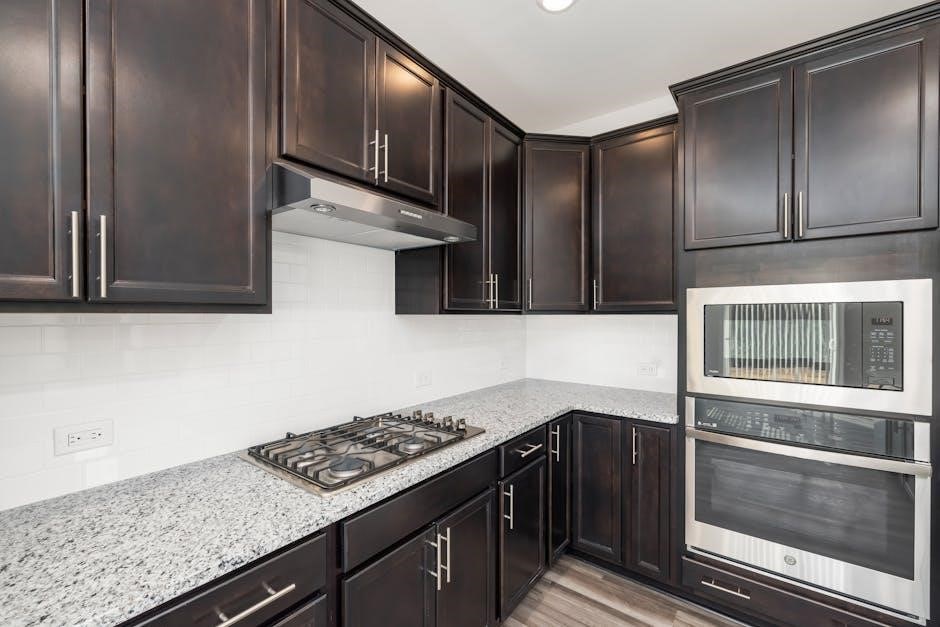
Understanding Your GE Self-Cleaning Oven
GE self-cleaning ovens utilize high heat to eliminate baked-on grime‚ offering convenience and reducing manual scrubbing efforts for a sparkling clean interior.
Self-cleaning technology‚ particularly in GE ovens‚ employs pyrolytic cleaning – reaching extremely high temperatures to convert food residue into ash. This process eliminates the need for harsh chemicals and vigorous scrubbing. However‚ it’s crucial to understand that self-clean cycles operate at significantly higher temperatures than steam clean‚ potentially impacting electronic components. Regular steam cleaning‚ used proactively‚ can prevent heavy buildup‚ reducing reliance on the intense self-clean function and extending oven lifespan.
Types of GE Self-Cleaning Ovens
GE offers ovens with both standard self-clean and steam clean functionalities. Standard self-clean utilizes pyrolytic cleaning‚ reaching very high temperatures to burn off residue. Steam clean‚ a lighter option‚ uses low heat and water to loosen spills for easy wiping. Some models feature both‚ providing flexibility; frequent steam cleaning minimizes the need for the more intense self-clean cycle‚ preserving oven components and extending its overall usability.
Preparing for the Self-Cleaning Cycle
Before initiating the cycle‚ remove racks and accessories‚ wipe loose debris‚ and ensure adequate ventilation for optimal performance and safety during cleaning.
Removing Oven Racks and Accessories
Prior to starting the self-clean cycle‚ it’s crucial to remove all oven racks‚ broiler pans‚ and any other accessories from within the oven cavity. These items can become discolored or damaged due to the extremely high temperatures reached during cleaning. Removing them also ensures a more thorough cleaning process‚ allowing heat to circulate freely.
Remember to handle the racks carefully‚ as they may be hot even if the oven hasn’t been recently used.
Wiping Down Loose Debris
Before initiating the self-clean cycle‚ take a moment to wipe down any loose debris or large food particles from the oven’s interior surfaces. This simple step helps minimize smoke and odors during the high-heat cleaning process. A damp cloth or sponge is sufficient for this task; avoid using abrasive cleaners at this stage.
Removing these particles improves the cycle’s efficiency and prevents potential issues.
Ensuring Proper Ventilation
During the self-cleaning cycle‚ your GE oven generates significant heat and potentially some odor. Therefore‚ ensuring proper ventilation is crucial for a safe and comfortable experience. Open windows in the kitchen‚ or turn on the kitchen exhaust fan to help dissipate heat and fumes.
Adequate airflow minimizes any unpleasant smells and protects sensitive individuals.
Initiating the Self-Cleaning Cycle
To begin‚ select the desired cleaning duration on your GE oven’s control panel‚ then the door automatically locks for safety during the high-temperature process.
Selecting the Cleaning Duration
GE ovens offer varying self-clean cycle lengths‚ typically ranging from two to four hours‚ depending on the soil level. Lighter soiling benefits from shorter cycles‚ conserving energy and time. Heavier‚ carbonized messes necessitate the extended four-hour option for thorough cleaning.
Consult your oven’s manual for specific recommendations; some models feature an automatic sensing feature that adjusts duration. Remember‚ longer cycles mean higher energy consumption‚ so choose wisely based on the oven’s condition!
Locking the Oven Door
During the self-clean cycle‚ your GE oven door automatically locks for safety‚ preventing accidental opening due to the extremely high temperatures generated inside. This locking mechanism is a crucial safety feature.
Do not attempt to force the door open while it’s locked; this could damage the locking system. The door will automatically unlock once the oven has cooled sufficiently and the cycle is complete. Never disable or bypass this safety lock.
Understanding the High Temperatures
The self-clean cycle reaches significantly higher temperatures than typical baking‚ often exceeding 880°F (470°C). This intense heat is designed to pyrolyze food residue‚ turning it into ash.
Be aware that these temperatures can potentially damage electronic components over time. Proper ventilation is essential‚ and it’s crucial to remove racks and accessories beforehand‚ as they may discolor or warp under such extreme heat.

Steam Clean vs. Self-Clean Cycle
Steam clean is ideal for light soils and frequent use‚ preventing buildup‚ while the self-clean cycle tackles heavy‚ carbonized residue with intense heat.
Benefits of Steam Clean for Light Soil
The steam clean function excels at addressing minor grease and food splatters immediately after cooking‚ offering a gentler cleaning approach. Utilizing moisture‚ it loosens fresh spills‚ like cheesy overflows‚ simplifying wipe-down procedures with soapy water.
Regular steam cleaning prevents the formation of stubborn‚ baked-on residue‚ reducing the need for the harsher‚ high-temperature self-clean cycle. This proactive maintenance extends oven life and minimizes potential electronic component stress.
When to Use the Self-Clean Cycle
The self-clean cycle is most effective when dealing with significant‚ carbonized food residue that resists standard cleaning methods. It’s ideal for situations where grease has heavily baked onto the oven’s enamel‚ becoming difficult to remove manually.
However‚ remember this cycle reaches extremely high temperatures. Reserve it for less frequent‚ deep cleaning‚ as overuse can potentially strain the oven’s electronic components and isn’t necessary for light soiling.
Preventative Maintenance with Steam Clean
Regular steam clean cycles are excellent preventative maintenance‚ tackling light grease and spills before they bake on and become stubborn. Utilizing steam clean after each slightly greasy use prevents significant buildup‚ reducing the need for the harsher self-clean cycle.
This is particularly useful for cheesy spills‚ keeping the oven floor clean and avoiding carbonized residue. Follow up with a wipe-down for optimal results!
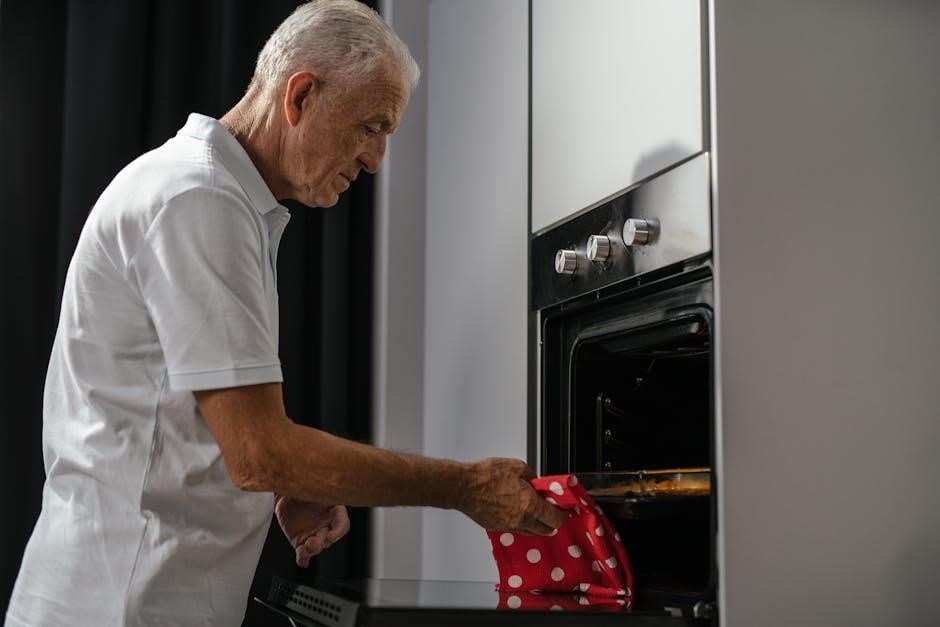
Post-Cleaning Procedures
After the self-clean cycle‚ allow the oven to cool completely‚ then wipe away any remaining ash residue before reinstalling the racks.
Allowing the Oven to Cool
It is crucial to allow your GE oven to cool down completely after the self-cleaning cycle concludes. The internal temperatures reach extremely high levels‚ posing a burn risk. Do not attempt to open the oven door until it unlocks automatically‚ indicating a safe temperature.
Patience is key; rushing this process could lead to injury or damage to the oven’s components. Ensure adequate ventilation during cooling‚ and keep children and pets away from the appliance.
Wiping Away Ash Residue
After the oven has fully cooled‚ a fine layer of ash residue will remain. Dampen a soft cloth and carefully wipe down all interior surfaces – walls‚ floor‚ and door. This ash consists of carbonized food particles‚ safely reduced during the cleaning cycle.
Avoid abrasive cleaners‚ as they can scratch the enamel. A simple damp cloth is usually sufficient for a pristine finish‚ completing the self-cleaning process effectively.
Reinstalling Oven Racks
Once the oven is completely cool and wiped clean‚ carefully reinstall the oven racks. Ensure they are securely placed back into their original positions‚ sliding smoothly along the rack supports.
If your racks have ball bearings‚ double-check they are dry and free of any cleaning residue to maintain optimal sliding function. Proper rack placement ensures even cooking and safe oven operation.

Troubleshooting Common Issues
If your GE oven fails to reach cleaning temperature or displays error codes during the self-clean cycle‚ consult the owner’s manual for guidance.
Oven Not Reaching Cleaning Temperature
If your GE oven isn’t reaching the necessary high temperatures for the self-clean cycle‚ first verify the oven door is completely and securely locked. A faulty door latch prevents the cycle from initiating properly.
Also‚ ensure there isn’t excessive build-up hindering the heating elements. Check your home’s circuit breaker; a tripped breaker can interrupt power. Refer to the manual for specific error codes‚ as they pinpoint the issue.
Error Codes During Self-Clean
GE ovens display error codes during the self-clean cycle to indicate specific problems. Consult your oven’s manual; it contains a comprehensive list detailing each code’s meaning and suggested solutions.
Common issues include a faulty door latch sensor‚ a malfunctioning temperature sensor‚ or problems with the oven’s control board. Some codes may require professional service for diagnosis and repair‚ ensuring safe operation.
Smoke During the Self-Clean Cycle
Some smoke during the self-clean cycle is normal‚ especially if significant food debris is present. This occurs as the high temperatures reduce residue to ash. However‚ excessive smoke warrants attention.
Ensure proper ventilation by opening windows. If smoke persists or is unusually dark‚ stop the cycle and consult the oven manual or a qualified technician‚ as it could indicate a potential issue.
Maintaining Oven Racks
To maintain oven racks‚ soak them in warm‚ soapy water to loosen debris‚ but avoid getting water into sliding mechanisms for optimal function.
Soaking Racks in Soapy Water
For heavily soiled oven racks‚ a thorough soak in warm‚ soapy water is highly recommended. This process effectively loosens baked-on food particles and grease‚ making them easier to remove. Fill a bathtub or large utility sink with hot water and a generous amount of dish soap.
Submerge the racks completely‚ ensuring all surfaces are covered. Allow them to soak for several hours‚ or even overnight for stubborn residue. This minimizes scrubbing effort and prevents damage to the rack’s finish.
Avoiding Water in Sliding Mechanisms
When cleaning oven racks‚ particularly those with sliding mechanisms‚ extreme caution is necessary. Avoid introducing water or cleaning solutions into these components. Water can cause corrosion and impede smooth gliding action‚ potentially leading to rack failure or difficulty in operation.
Protect ball bearings and sliding tracks during rinsing. Carefully direct water away from these areas‚ and ensure thorough drying before reinstalling the racks into the oven.
Rinsing and Drying Racks
After soaking oven racks in warm‚ soapy water to loosen debris‚ a thorough rinsing is crucial. Utilize a sink or garden hose to eliminate all traces of soap residue‚ ensuring a clean surface.
Subsequently‚ completely dry the racks before reinstalling them. This prevents rust formation and ensures optimal oven performance. Allow air drying or use a clean towel for efficient moisture removal.

Safety Precautions
Always keep children and pets away during the self-clean cycle due to extremely high temperatures‚ and be aware of potential electronic damage.
Avoiding Use with Certain Coatings
Certain oven coatings‚ particularly those not specifically designed for high-temperature self-cleaning cycles‚ can be damaged by the intense heat generated during pyrolytic cleaning. This damage may manifest as discoloration‚ peeling‚ or even complete coating failure. Always consult your GE oven’s manual to verify if your model’s interior is suitable for self-cleaning‚ especially if it has a non-standard finish. Using the self-clean function on an incompatible coating voids the warranty and compromises oven safety.
Keeping Children and Pets Away
During the self-cleaning cycle‚ the oven’s exterior surfaces become extremely hot‚ posing a significant burn risk to children and pets. GE strongly advises keeping them at a safe distance throughout the entire process‚ including the cooling period. The door remains locked for safety‚ but surrounding areas can reach dangerous temperatures. Supervise the area and ensure no one approaches the oven until it’s completely cool to the touch.
Potential for Electronic Component Damage
The pyrolytic self-clean cycle generates intense heat‚ potentially shortening the lifespan of electronic components within the GE oven. Repeated use at such high temperatures can lead to premature failure of the control panel or other sensitive parts. While effective for removing stubborn residue‚ moderation is key to avoid costly repairs and maintain oven functionality over time.
Understanding Pyrolytic Cleaning
Pyrolytic cleaning employs extremely high temperatures to convert oven soil into ash‚ a process that effectively eliminates baked-on food residue and grime.
How Pyrolytic Cleaning Works
Pyrolytic cleaning‚ found in many GE ovens‚ heats the oven cavity to incredibly high temperatures – often exceeding 900°F. This intense heat breaks down food residue through oxidation‚ essentially burning it away. What remains is a fine ash that can be easily wiped clean after the cycle completes and the oven cools.
This process eliminates the need for harsh chemicals or extensive scrubbing‚ offering a convenient‚ though energy-intensive‚ cleaning solution.
Risks Associated with High Temperatures
Pyrolytic self-cleaning‚ while effective‚ presents certain risks due to the extreme temperatures involved. These high heats can potentially damage electronic components within the oven‚ leading to control panel failures or other malfunctions. Additionally‚ strong odors are common during the cycle‚ and there’s a risk of smoke if excessive grease is present.
Proper ventilation and adherence to safety precautions are crucial.
Alternatives to Pyrolytic Cleaning
For lighter cleaning needs‚ the steam clean cycle offers a gentler approach‚ preventing significant grease buildup. Traditional manual cleaning‚ utilizing oven cleaner and elbow grease‚ remains a viable option‚ though more labor-intensive. Regular steam cleaning proactively minimizes the need for the harsher pyrolytic cycle‚ potentially extending the oven’s lifespan and reducing component stress.
Manual Cleaning Options
Traditional methods involve using commercial oven cleaners and dedicated scrubbing‚ offering a direct approach to removing stubborn residue and baked-on food particles.
Using Oven Cleaner
Employing oven cleaner requires careful adherence to product instructions and safety precautions. Ensure adequate ventilation by opening windows and wearing gloves. Apply the cleaner evenly‚ avoiding heating elements and the oven door gasket. Allow sufficient dwell time‚ typically several hours‚ before thoroughly rinsing with water and wiping away residue.
This method is effective for tackling heavily carbonized buildup that the self-clean cycle might struggle with‚ but it demands significant effort.
Elbow Grease and Scrubbing
For lighter residue‚ or after using oven cleaner to loosen debris‚ good old-fashioned scrubbing can be remarkably effective. Utilize a non-abrasive sponge or cloth with warm‚ soapy water. Apply firm pressure and circular motions to dislodge baked-on food particles.
Persistence is key; this method requires significant physical effort‚ but avoids harsh chemicals and can restore shine to your oven’s interior.
GE Oven Control Panel Issues
Control panel failures can occur‚ potentially requiring replacement; these issues might stem from electrical surges or component wear‚ disrupting oven functionality.
Replacement Control Panel Considerations
When replacing a GE oven control panel‚ ensure compatibility with your specific model number is crucial for proper function. Sourcing a genuine GE replacement part is recommended for reliability and warranty coverage. Consider professional installation if you lack experience with appliance repair‚ as incorrect wiring can cause further damage or safety hazards.
Potential Causes of Control Panel Failure
GE oven control panel failures often stem from power surges during the self-clean cycle‚ exceeding safe temperature limits. Exposure to excessive heat can fry electronic components. Additionally‚ spills or moisture infiltrating the panel can cause corrosion and short circuits. Age and general wear and tear also contribute to eventual component degradation and malfunction.
Extending Oven Lifespan
Regular steam cleaning prevents grease buildup‚ while avoiding excessive spills minimizes the need for harsh self-clean cycles‚ preserving your GE oven’s longevity.
Regular Steam Cleaning
Employing the steam clean function frequently‚ even after minor use‚ is a proactive approach to oven maintenance. This prevents greasy residue from baking onto the enamel‚ avoiding the formation of stubborn‚ carbonized deposits.
Steam clean is particularly effective for cheesy spills‚ offering a gentler alternative to the high-heat self-clean cycle. Consistent steam cleaning minimizes the need for abrasive cleaners and extends the life of your GE oven’s electronic components.
Avoiding Excessive Grease Buildup
Preventing significant grease accumulation is crucial for optimal oven performance and longevity. Regularly wiping down the oven interior after each use‚ even with a damp cloth‚ minimizes baked-on messes.
Utilizing oven liners or baking sheets can contain spills and splatters‚ reducing direct contact with the oven’s surfaces. Consistent preventative measures lessen the reliance on harsh self-cleaning cycles‚ safeguarding the oven’s internal components from potential damage.
The Impact of Lasagna and Cheesy Spills
Cheesy spills benefit from immediate attention; the steam clean cycle effectively addresses them‚ preventing carbonization and reducing the need for intense pyrolytic cleaning.
Steam Clean for Cheesy Spillovers
For recent‚ cheesy spills‚ the steam clean cycle is remarkably effective. It utilizes lower temperatures than self-clean‚ preventing the mess from baking onto the enamel;
Regular use after each slightly greasy incident‚ coupled with a wipe-down with soapy water‚ prevents significant buildup. This proactive approach avoids the need for the harsher‚ high-heat self-clean cycle‚ preserving oven components and reducing potential issues.
Preventing Carbonized Residue
Allowing grease and food particles to accumulate leads to stubborn‚ carbonized residue that’s incredibly difficult to remove. The steam clean cycle‚ used frequently‚ is key to prevention.
By consistently addressing spills and buildup‚ you avoid needing the pyrolytic self-clean‚ which can damage electronics or necessitate harsh oven cleaners and extensive scrubbing – a far less desirable outcome for maintaining your GE oven.